
75% of online shoppers say product photography is the most influential factor in their purchasing decision. More than price. More than reviews. More than the product description.
And yet most coffee brands show up to their shoot day with no brief. A few reference images on their phone. A rough idea of what they want. And a budget that won't survive a reshoot when the images come back wrong.
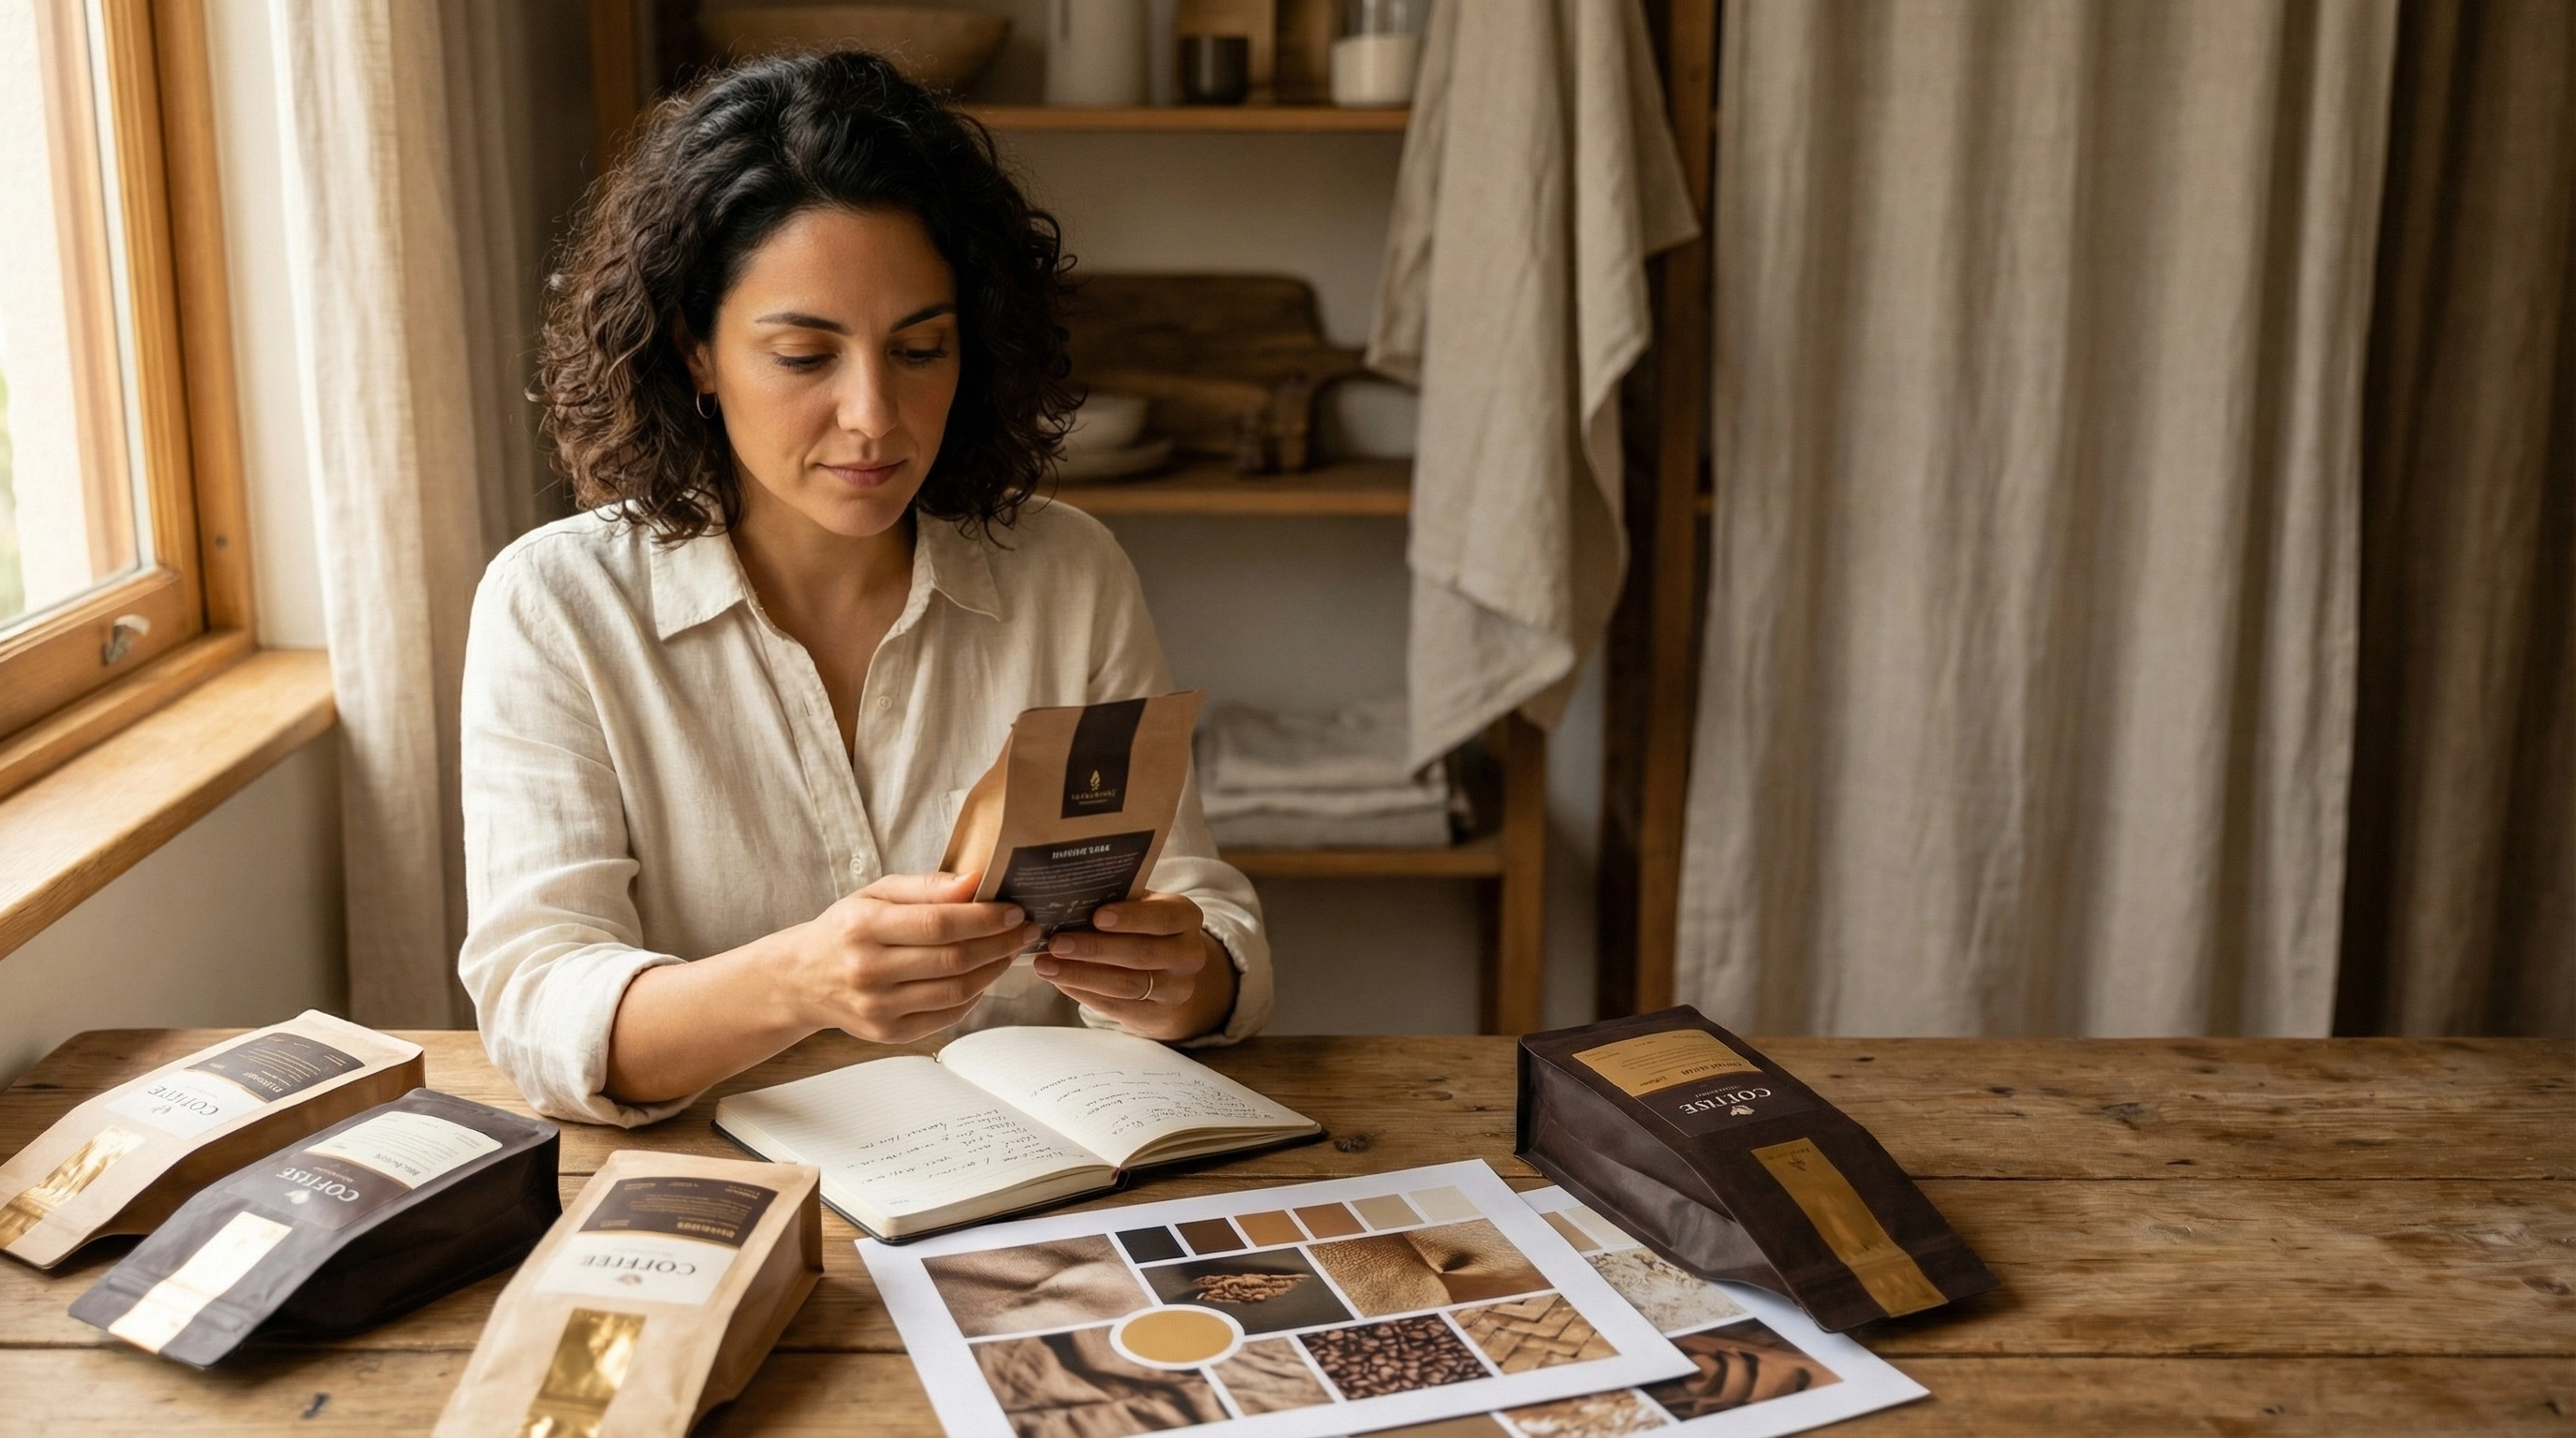
A bad brief is one of the most expensive mistakes a coffee brand can make. A good brief is one of the best investments. This is how to write one.
The PAID Framework
A complete photography brief covers four things. Inkroast uses this structure on every brand shoot we direct:
P — Purpose.** What is every image going to be used for?
A — Aesthetic.** What does the brand look and feel like?
I — Inventory.** What exact shots are needed?
D — Deliverables.** What are the file specs and deadlines?
Work through these four sections before you book the photographer. By the time you've completed them, you'll also know exactly what kind of photographer you need — which is a question most brands don't ask until it's too late.
P — Purpose: Map Every Shot to a Destination
The first question your brief must answer is not "what do the images look like" — it's "where are these images going?"
Because purpose determines everything else. A Shopify product page hero image needs to be square, clean, and work at thumbnail size. An Instagram lifestyle image needs to work at 4:5 portrait. A paid Facebook ad needs blank space for a copy overlay. A press kit image needs to be high-resolution print quality.
A photographer who isn't briefed on usage cannot make these decisions. They'll deliver images that are technically beautiful and practically unusable for half your intended placements.
Shot-to-Usage Map
Before your shoot, build this table for every image type:
Build this table first. It will tell you exactly what crops, orientations, and compositions the photographer needs to plan for — before a single light is set up.
A — Aesthetic: Show, Don't Describe
"Premium but warm." "Elevated but approachable." "Minimal but not cold." These phrases mean different things to every photographer who reads them.
An aesthetic brief that only uses adjectives produces inconsistent results. An aesthetic brief with visual references produces consistent results. Every time.
How to Build a Focused Mood Board
Your mood board should have 6–12 tightly curated images. Not 40. Not a folder of Pinterest screenshots. Twelve images with a consistent visual through-line — same quality of light, same color temperature, same compositional approach.
Organize it in three sections:
Lighting references. Show the quality of light you want. Is it hard and directional — strong shadows, high contrast? Or soft and diffused — even light, gentle shadows? Or a specific window-light quality — warm, golden, directional but gentle? Show examples. Don't describe.
Color and tone references. Show the overall palette feel. Warm and earthy? Cool and clean? Dark and moody? Muted and analog? Pair these with your brand's hex codes so the photographer understands whether the palette should appear IN the images (backgrounds, props, surfaces) or simply inform the overall mood.
Composition and styling references. Show how things are arranged. Negative space vs. dense styling. Overhead flat lay vs. angled editorial. Props that tell a story vs. pure product isolation. Surface textures you love.
The "This / Not This" Framework
For every aesthetic direction, show what you want AND what you don't want. This is one of the most effective briefing tools available and takes ten minutes to build.
Example:
- THIS: Warm morning light, linen surfaces, steam from a ceramic cup, natural and unhurried.
- NOT THIS: Flat overhead studio shots with generic props on a pure white background.
One pair of references like this eliminates more miscommunication than three paragraphs of description.
Brand Personality Words
Add five adjectives that describe your brand — then five that explicitly do not. Example:
Our brand IS: Considered / Honest / Earthy / Specialist / Calm Our brand is NOT: Trendy / Loud / Clinical / Rustic-kitsch / Generic
These words become a decision filter on shoot day. When the photographer asks "should we try this shot?" everyone can look at the list and answer quickly.
I — Inventory: The Shot List
A shot list is a numbered, scene-by-scene breakdown of every image you need. Without it, a shoot day ends and both you and the photographer think you covered everything — until you're back at your desk and three critical angles are missing.
The Coffee Brand Shot Stack
For a new coffee brand launching on Shopify with 3 SKUs,
this is the minimum viable set:
SETUP 1: Clean Studio — Product on Brand Background
Priority 1 (must-have):
- 1A. Each SKU, front label, straight on (×3)
- 1B. Each SKU, back label (×3)
- 1C. Each SKU, 3/4 angle (×3)
- 1D. Flat lay, bag open showing beans (×3)
- 1E. Full product lineup, all SKUs together
Priority 2 (nice-to-have):
- 1F. Top-down overhead lineup
SETUP 2: Textured Surface — Lifestyle, No Talent
Priority 1:
- 2A. Single bag on surface with ceramic cup, warm side light
- 2B. Brewed black coffee in ceramic cup, steam, clean bg
- 2C. Pour-over setup: kettle, dripper, cup, beans — overhead
- 2D. Beans in cupped hands or wooden scoop
Priority 2:
- 2E. Close-up: coffee grounds texture
- 2F. Close-up: steam rising from cup, dark background
SETUP 3: Home Environment — Lifestyle with Talent
Priority 1:
- 3A. Person holding mug with both hands, window light
- 3B. Person sitting at table with coffee, morning context
- 3C. Overhead hands-on-mug, wooden table
Priority 2:
- 3D. Person pouring from kettle, mid-action
- 3E. Two people sharing coffee, natural moment
SETUP 4: Brand / Story
Priority 2:
- 4A. Founder or roaster at work, candid portrait
- 4B. Beans being poured or weighed
Total: ~20 must-have shots, ~8 nice-to-have A 1-day shoot, properly organized, can cover all of these.
Shot List Best Practices
Number every shot with a unique ID (1A, 1B, 2A) so selects can be referenced in feedback precisely.
Mark priority 1 vs priority 2 before the shoot. If time runs short, you'll know what to protect.
Include rough time estimates. An experienced photographer can advise — usually 60–90 minutes per setup including lighting, styling, and shooting. A 4-setup shoot is a full day.
Specify orientation where relevant. Some shots may be needed both square and landscape for different placements.
D — Deliverables: File Specs and Usage Rights
This section prevents the most common post-shoot disputes — and the most common technical failures.
Shopify Image Specifications
Shopify product images:
- Recommended resolution: 2048 × 2048 pixels (square)
- Maximum upload: 20MB per file, 4472 × 4472 pixels max
- Format: JPG for photographs (Shopify converts to WebP)
- Color space: sRGB (not CMYK — this is for screens, not print)
- Aspect ratio: 1:1 square is the safest default for consistent grid appearance across all collection pages
Request two deliverable packages from your photographer:
1. Full-resolution masters — highest quality JPGs or TIFF files, for future use and print
2. Web-optimized set — 2048px on longest edge, sRGB, 500KB–1.5MB per file, ready for Shopify upload
File Naming Convention
Agree on file names before the shoot. Receiving a folder of files named `DSC_0047_final_FINAL_v2.jpg` is a workflow nightmare.
Recommend: `[brand]-[product]-[shot-type]-[number].jpg` Example: `inkroast-ethiopianatural-hero-01.jpg`
Usage Rights
Brief the photographer on every channel you intend to use the images: website, paid social ads, print, wholesale catalogues, email. Usage rights and licensing fees vary by channel — if you're planning to run the images in paid advertising, confirm this is covered in your contract before the shoot, not after.
Revision Policy
Define it in the brief: how many rounds of retouching are included? What does "retouching" mean in scope — color correction only, or removal of props and background imperfections? Get this in writing.
Choosing the Right Photographer
Not all photographers are right for every brief. Before you book, ask these questions:
Can they show food and beverage product work?
Product photography requires different skills and equipment than portrait or event photography. A portfolio that only shows people or landscapes is a red flag for a product shoot.
Can they show lifestyle work alongside studio work?
Most coffee brands need both. A photographer who excels in one but not the other will produce inconsistent results across your image set.
Do they understand Shopify image requirements?
Ask explicitly. A photographer who knows e-commerce requirements will plan compositions with the right crops, leave appropriate negative space for overlays, and deliver correctly-sized files without being asked.
Does their natural color grading match your brand direction?
A photographer with a naturally cool, desaturated edit style will fight a warm earthy brand palette at every turn. Look at their unbranded portfolio work — what's their default color temperature?
Frequently Asked Questions
How much does a coffee brand product shoot cost?
A professional one-day product shoot for a coffee brand typically ranges from $1,500 to $5,000+ depending on location, photographer experience, studio rental, styling, and talent. This range covers 20–40 final images. The most common mistake is budgeting for the shoot but not for post-production retouching — build both into your budget from the start.
Do I need a stylist for my coffee brand photoshoot?
For shoots involving lifestyle setups with multiple props and surfaces, a stylist significantly improves results and often saves time on set. For clean product-on-background studio shoots, a stylist is optional. If you have a strong visual direction in your brief and can source and bring props yourself, you can often manage lifestyle styling without a dedicated stylist — especially on a lean budget.
How many images does a coffee brand need for Shopify?
A minimum viable Shopify coffee store needs 4 images per SKU plus 4–6 lifestyle images that can be shared across product pages. For a brand with 3 SKUs, that's approximately 18–22 images minimum. Best-in-class coffee stores have 6–8 images per product page, plus a library of lifestyle and brand story images for homepage, email, and social use.
Can I use my phone for coffee brand product photography?
For early-stage brands with tight budgets, modern smartphones can produce usable product shots for Shopify — especially with good natural light and a clean background. The gap between phone and professional photography is most visible in lifestyle and atmospheric shots. Prioritize professional photography for your hero product images first, then expand to lifestyle content as budget allows.
How far in advance should I book a photographer?
Book 4–6 weeks in advance for most commercial photographers. Confirm your packaging is physically in hand before booking — a common and costly mistake is booking before printed packaging arrives. Delay the shoot date rather than shoot with prototype packaging if at all possible.
One Day, Three to Six Months of Content
The most important reframe for any coffee brand planning a shoot: a single well-briefed day should produce your entire content library — not just your product page images.
Plan the shoot for every channel simultaneously:
Shopify, email, Instagram, paid ads, press kit. Map every shot to every usage. Brief the photographer on all of it.
When you do this, a one-day shoot investment pays returns across three to six months of content without another shoot day. That's the real ROI of a good brief.
Read: Why Your Coffee Brand's Shopify Store Isn't Converting

